
Why am I writing this article on a beautiful Sunday evening?
Because when I came across this problem, I found no tutorial, no how-to article, no code-examples excluding some Stack Overflow building bricks, but a pile of bricks does not make a house, does it?
So here is the collected information that might mean salvation for some of you, so you don’t have to go through the same head-scratching trials and errors as me.
We will go through the following points, including some code examples:
- How file (storage and) downloading is usually done
- Recommended use-cases for this solution
- Node implementation with authentication, without memory increase
- Angular implementation without browser memory increase
The whole demo project can be found here.
How big file streaming is usually done
When you try to accomplish file downloading as a software engineer, the first thing that comes to mind is some kind of cloud storage solution, such as one of the following:
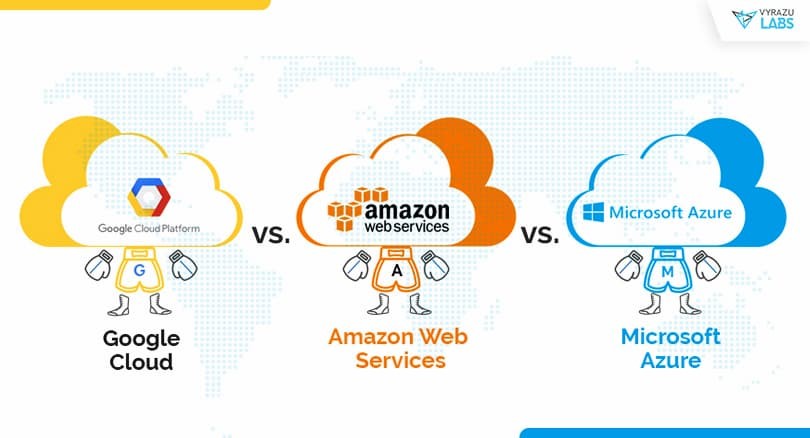
These solutions mentioned above provide you with very similar BLOB access in their scalable-flexible-secure data storage. This post is not about deciding which one of them is the one-above-all solution. I have already used all three of them, and they are more or less at the same convenience level.
A very common use-case is that you want some generated/uploaded file available for your client app.
These are not images rendered inside a webpage but rather huge PDF/text/byte files for them to download to their computers.

The emphasis is on the HUGE adjective. We do not want to put pressure on our backend API or on the client’s browser memory, especially for a static file reaching GBs in size.
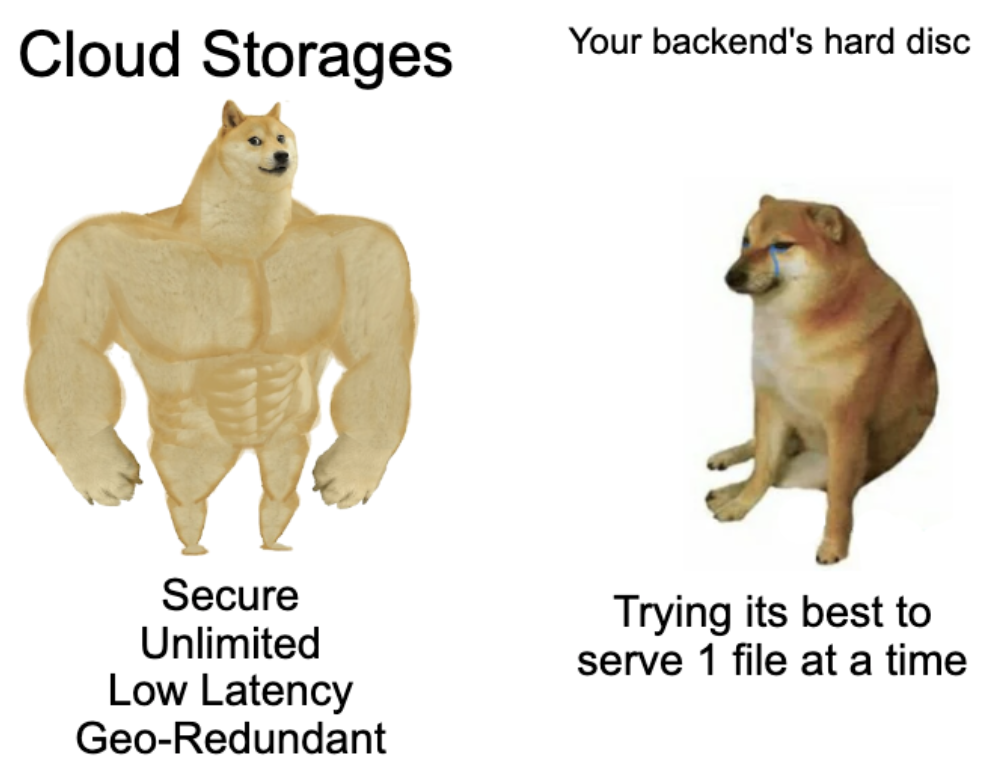
One of the simplest solutions out there is to use one of the mentioned cloud storage services.
They can provide you with a signed URL, that you pass to your browser, create a download link and thats all.
User clicks gets the file chunk-by-chunk from the scaled hyper-redundant cloud server without creating any network/memory/disc usage towards your backend.
Why do you need a custom solution?
After all this hype, why would you oppress your backend with static files? Let me give you some examples:
- You want to demo your university project on your laptop to your consultant professor in a wifi restricted zone.
- You cannot send a signed download URL for security reasons, because it contains sensitive information.
- You don’t want to put your credit card details into the hands of some unknown corporation for the simple feature named file serving.
- You don’t want to reveal your confidental documents.
- You are a Linux wizard and want to take control over every bit of data you use.

Node.js implementation
See the repo’s backend folder for the whole solution.
One thing you probably haven’t taken full advantage of before is that webserver’s http response is a stream by default.
They just make it easier for you to pass in synchron data, which is parsed to chunks under the hood and sent as HTTP packages.
We are talking about huge files here; naturally, we don’t want them to be stored in any memory, at least not the whole blob. The excellent solution for this dilemma is a stream.
We create a readstream with the help of the built-in node package ‘fs,’ then pass it to the stream compatible response.send parameter.
const readStream = fs.createReadStream('example.png');
return response.headers({
  'Content-Type': 'image/png',
  'Content-Disposition': 'attachment; filename="example.png"',
}).send(readStream);
I used Fastify webserver here, but it should work similarly with Koa or Express.
There are two more configurations here: naming the header ‘Content-Type’ and ‘Content-Disposition.’
The first one indicates the type of blob we are sending chunk-by-chunk, so the frontend will automatically give the extension to it.
The latter tells the browser that we are sending an attachment, not something renderable, like an HTML page or a script. This will trigger the browser’s download functionality, which is widely supported. The filename parameter is the download name of the content.
Here we are; we accomplished minimal memory stress, minimal coding, and minimal error opportunities.
One thing we haven’t mentioned yet is authentication.
For the fact, that the frontend won’t send an Ajax request, we can’t expect auth JWT header to be present on the request.
Here we will take the good old cookie auth approach. Cookies are set automatically on every request header that matches the criteria, based on the cookie options. More info about this in the frontend implementation part.

By default, cookies arrive as semicolon separated key-value pairs, in a single string. In order to ease out the parsing part, we will use Fastify’s Cookieparser plugin.
await fastifyServer.register(cookieParser);Later in the handler method, we simply get the cookie that we are interested in and compare it to the expected value. Here I used only strings as auth-tokens; this should be replaced with some sort of hashing and comparing algorithm.
const cookies = request.cookies;
if (cookies['auth'] !== 'authenticated') {
   throw new APIError(400, 'Unauthorized');
}
That’s it. We have authentication on top of the file streaming endpoint, and everything is ready to be connected by the frontend.

Frontend implementation
For this part, we are not going to use any client library, as some of them load the entire data into memory, and some are only useful if you generate blobs on the client-side.
The appcomponent is comfortably simple with one button, which triggers the download logic:
download(): void {
    const cookieOptions = {
      expires: 1,
      path: '',
      domain: 'localhost',
      secure: false, // we are not creating https request this time
    };

    // set cookie on window with 'authenticated' value
    this.cookieService.set('auth', 'authenticated', cookieOptions);

    window.open('http://localhost:3000/download', '_blank');
  }
I will not rob your reading time to explain what cookie options are or how you set a cookie to the browser (I use an ‘ngx-cookie-service’ wrapper service).
The basic cookie authentication approach is this: you call a backend authentication endpoint, which in response sets a cookie to your browser. I skipped that part and hardcoded the ‘authenticated’ value with ‘auth’ key to the browser’s cookies.
And now the magic. You can tell the browser window to open the URL and that you want to download your precious but enormous file from. ‘_blank’ option enforces it to be opened in a new tab; the browser reaches for the resource, which in fact will be an attachment, so it’s being downloaded by default. It is a cross-browser compatible, framework independent solution.
Cookie is set automatically for every request targeting ‘localhost’ domain, solving authentication issues.
Thanks for reading this far. I hope you found this short guide useful. If you have any questions, feel free to reach out, and don’t forget to follow us.
Further reading 📖 📚
👉 How to Upload Files Using the Bucketeer Addon on Heroku, MinIO, and Node.js
👉 8+1 Tips and Tricks for Building Large-Scale Enterprise Angular Applications
👉 Angular Form Handling: Useful Techniques, Practices and Examples

_ We’re a full-stack web development agency, building web applications from design to delivery with Angular, React, and Node.js